Quick Start
This guide deploys an Open OnDemand Service from the Sunstone Web UI, with one portal, one storage VM and one worker. Then it opens a JupyterLab notebook on the service. Check the Requirements first. You need OneFlow and OneGate enabled, and two Virtual Networks, one with Internet access and one reserved for the service.
Quick-start workflow:
- Create the networks. A management network with Internet access, which you probably have, and a compute network reserved for the service.
- Download the appliance. Import the image, the VM template and the service template from the Community Marketplace.
- Instantiate the service. Select the two Virtual Networks and keep the default inputs.
- Wait for the service. It reaches the
RUNNINGstate in about four minutes. - Open the portal and launch a notebook. Sign in with the initial user and open JupyterLab as a Slurm job on the worker VM.
Before You Start
The service needs two Virtual Networks, and the wizard requests both:
- Management network. The network your VMs already use to reach the Internet. The portal publishes its web interface on it, and OneGate must be reachable from it.
- Compute network. A private network for the VMs of this service and nothing else. It carries the shared home, the user directory, the software cache and the Slurm traffic between the portal and the workers.
Keep the compute network private and small, a /24 or smaller. Its traffic is not encrypted. The workers join the Slurm cluster through it, and the portal treats every address of that /24 as a possible worker. A larger network needs ONEAPP_POOL_RANGE, described in Configuration.
Create both networks from Networks -> Virtual Networks with + Create Virtual Network and From scratch. Most installations already have a management network, so skip the first one if yours does. From the Front-end command line, onevnet create creates the same networks from a template file. See Managing Virtual Networks.
Create the Management Network
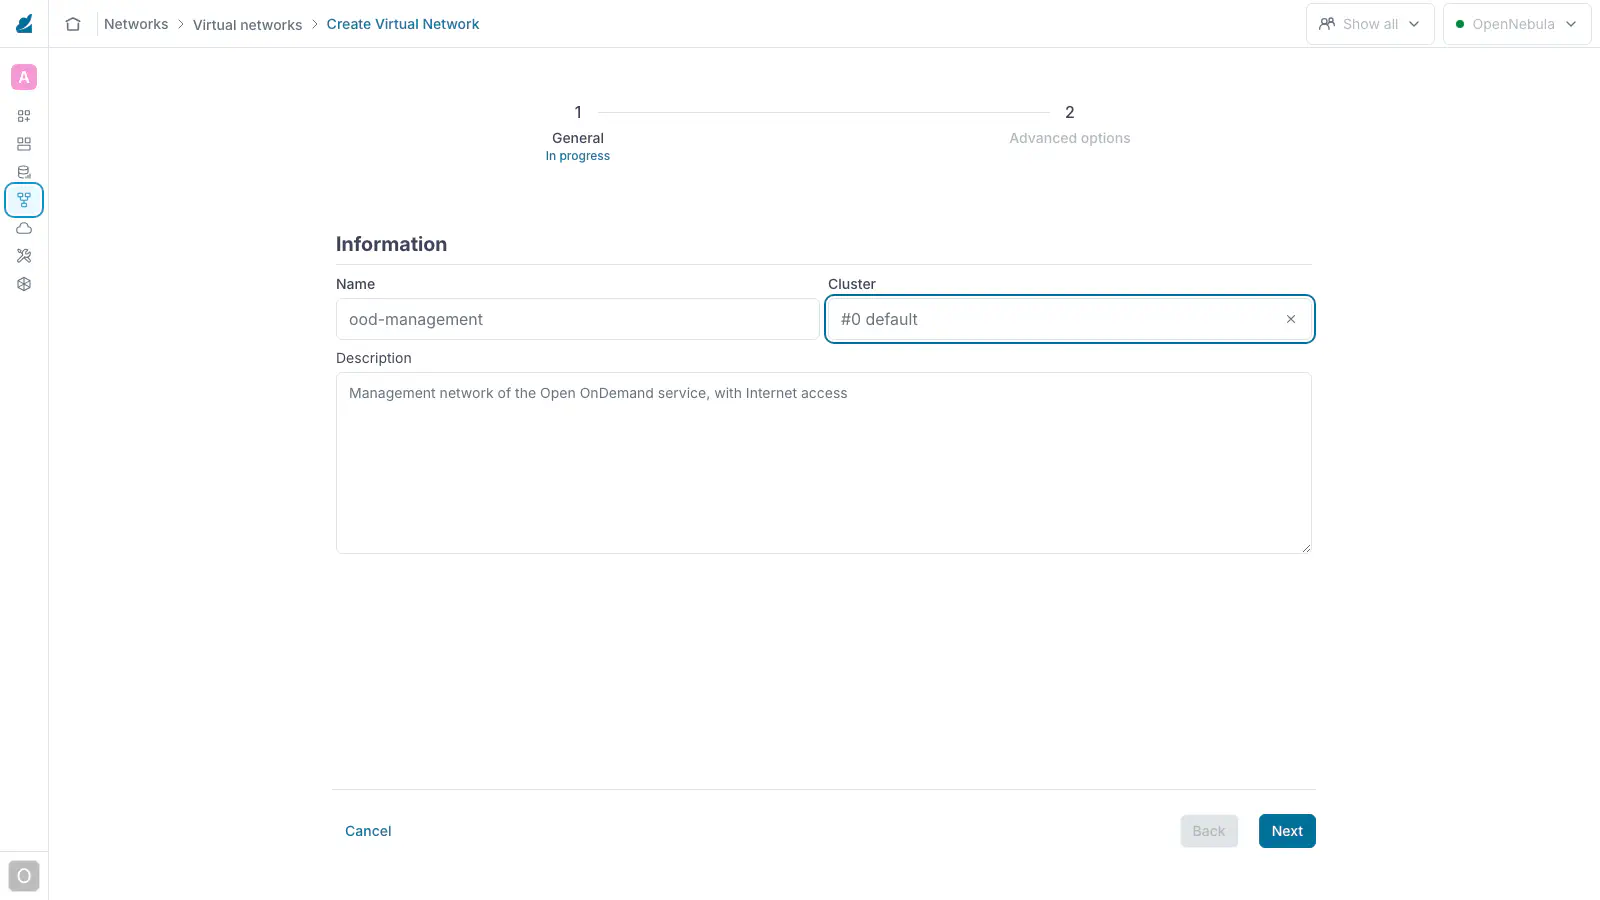
- General. Give it a name, for instance
ood-management. Select the Cluster of the Hosts that will run the service. Click Next.
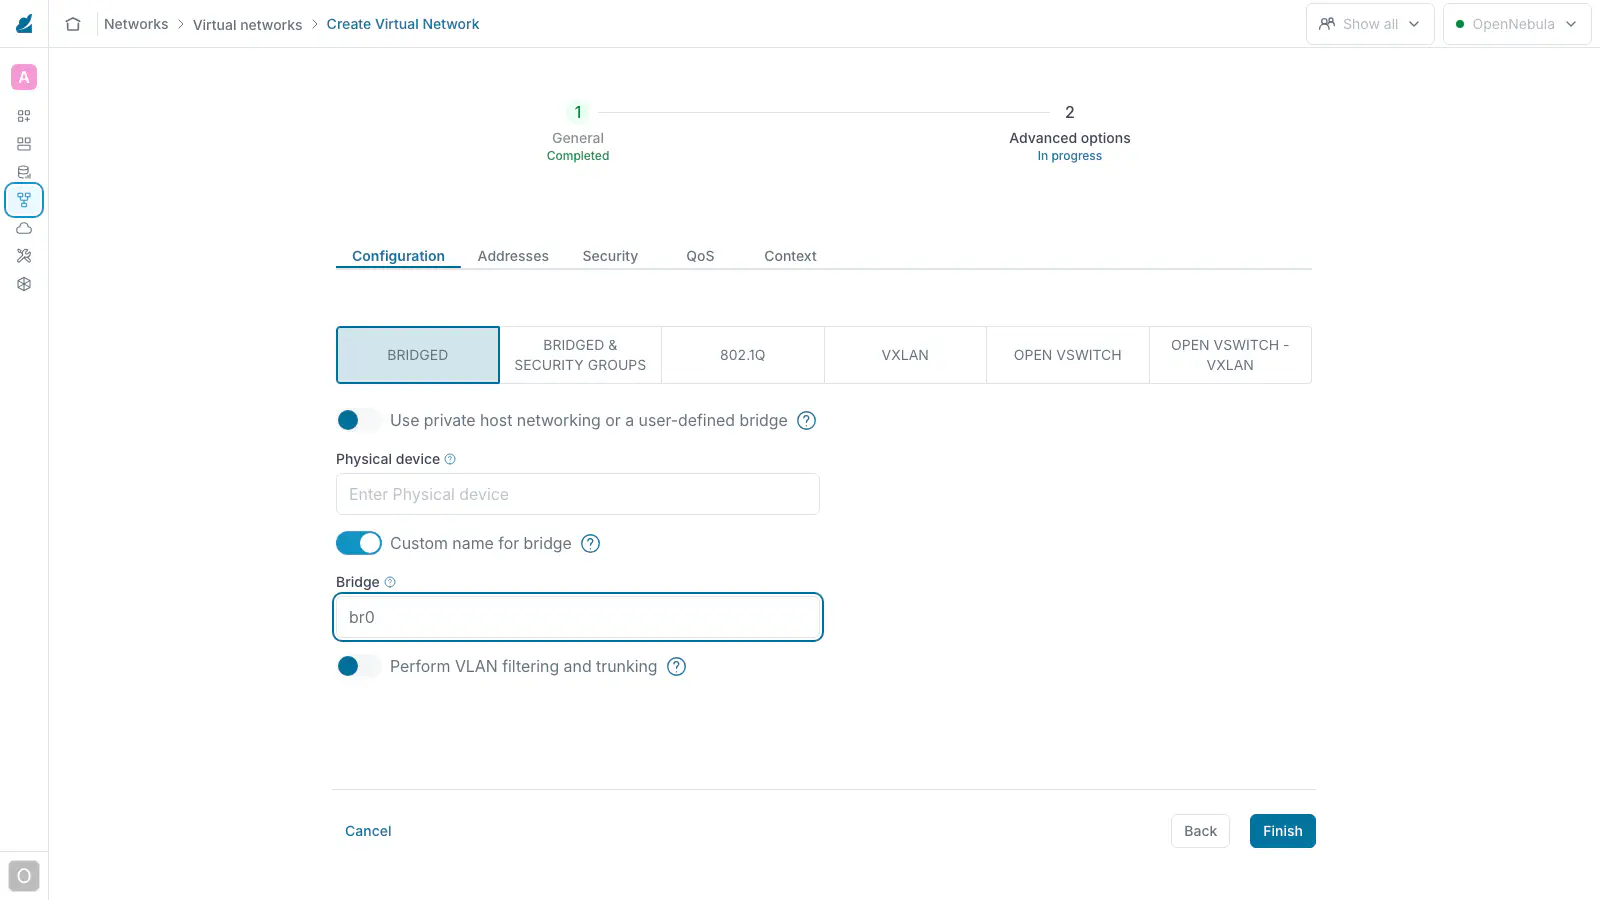
- Configuration. Choose the network mode of your Hosts. On a single Host, select Bridged and Custom name for bridge. Enter the name of the bridge that reaches the Internet, for instance
br0.
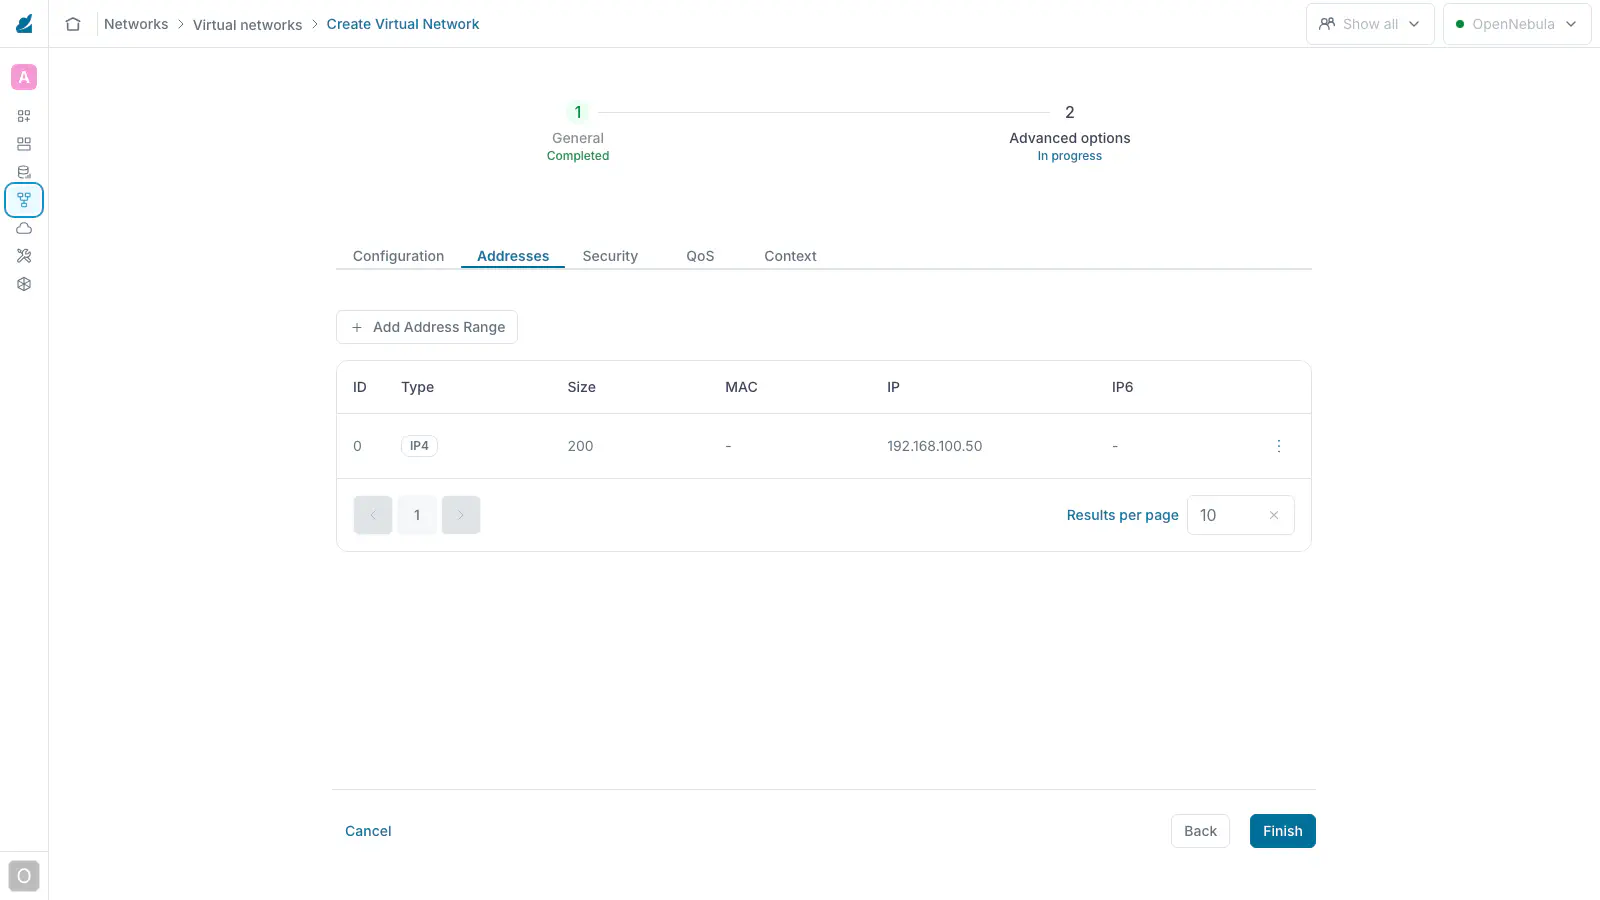
- Addresses. Click + Add Address Range. Set the first free address of the network and the number of addresses, for instance
192.168.100.50and200. Click Accept.
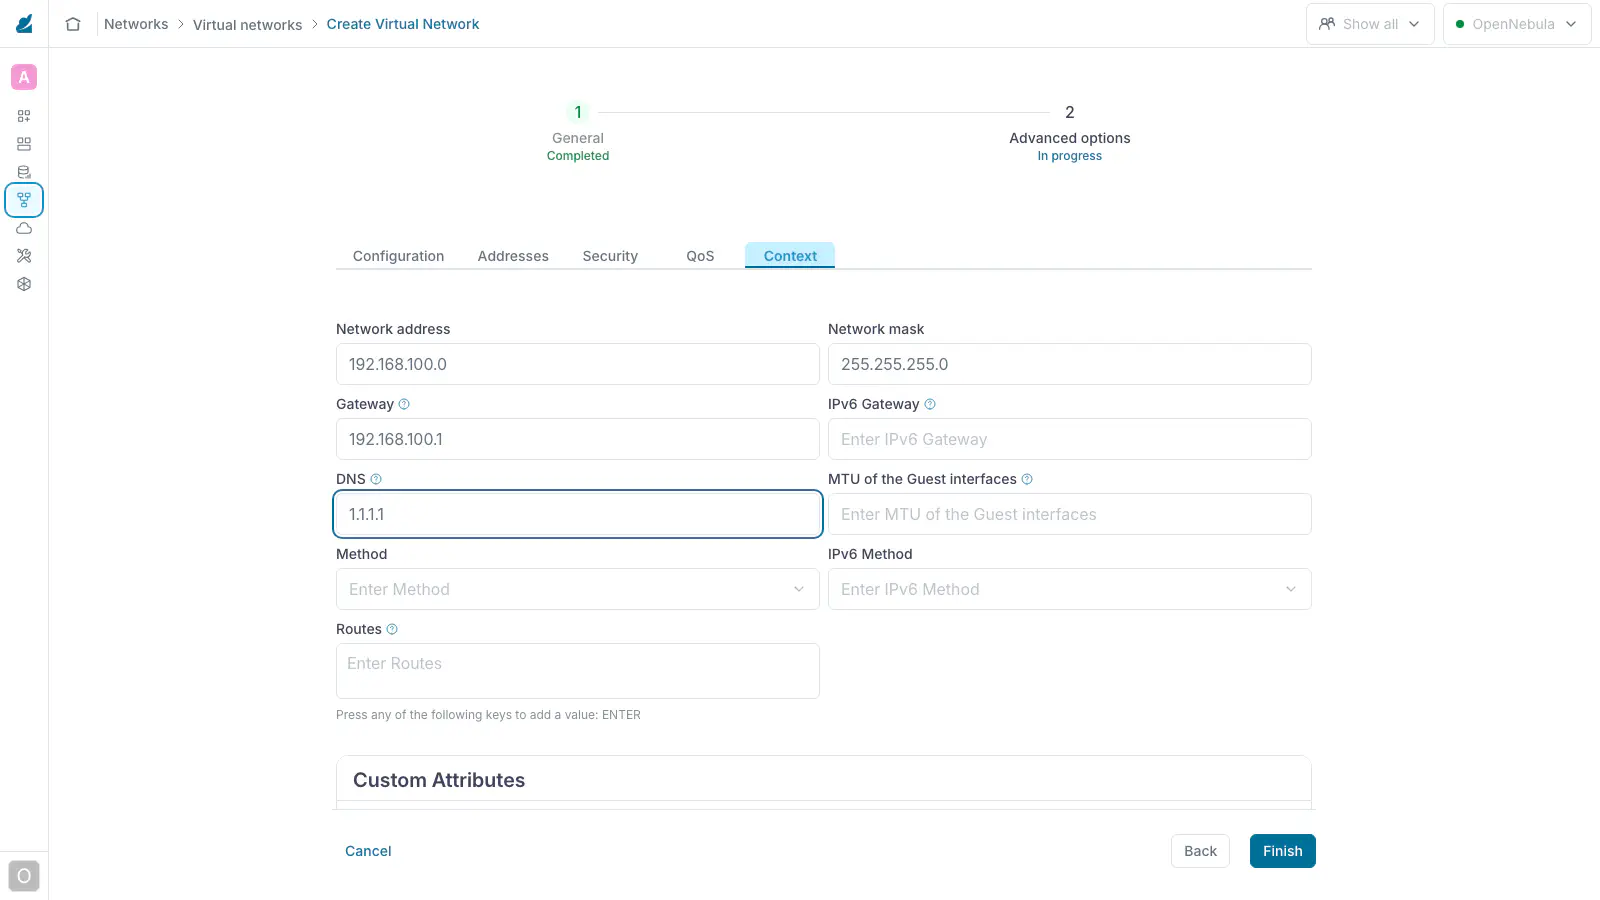
- Context. Set the network address, the network mask, the gateway and the DNS server, so the VMs reach the Internet. Use for instance
192.168.100.0,255.255.255.0,192.168.100.1and1.1.1.1. Click Finish.
Create the Compute Network
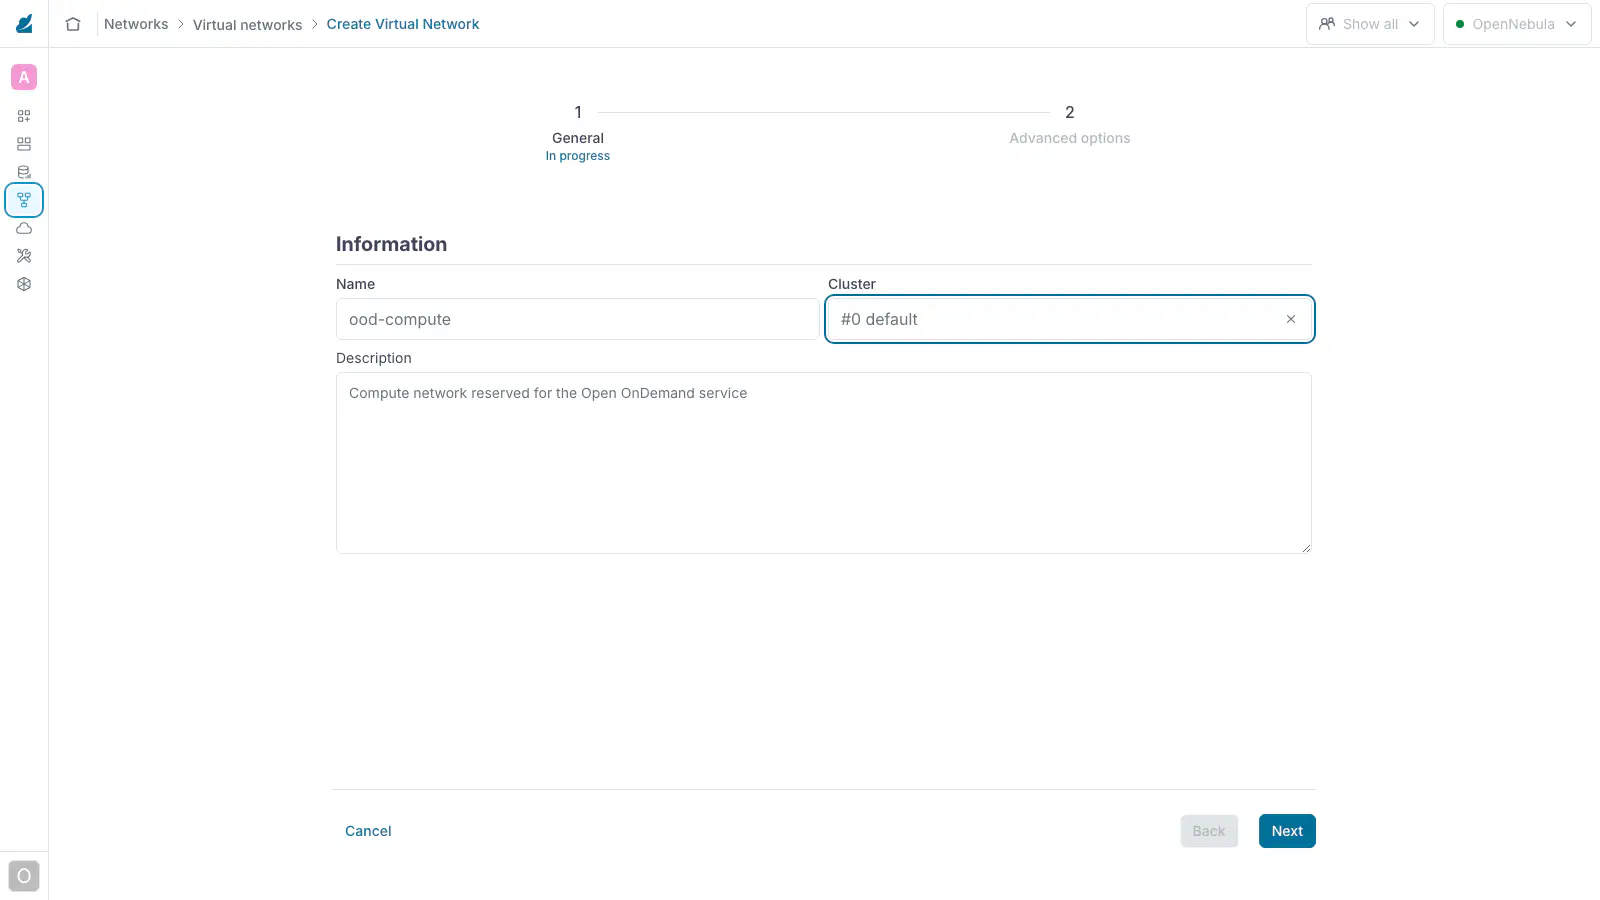
- General. Give it a name, for instance
ood-compute, and select the same Cluster. Click Next.
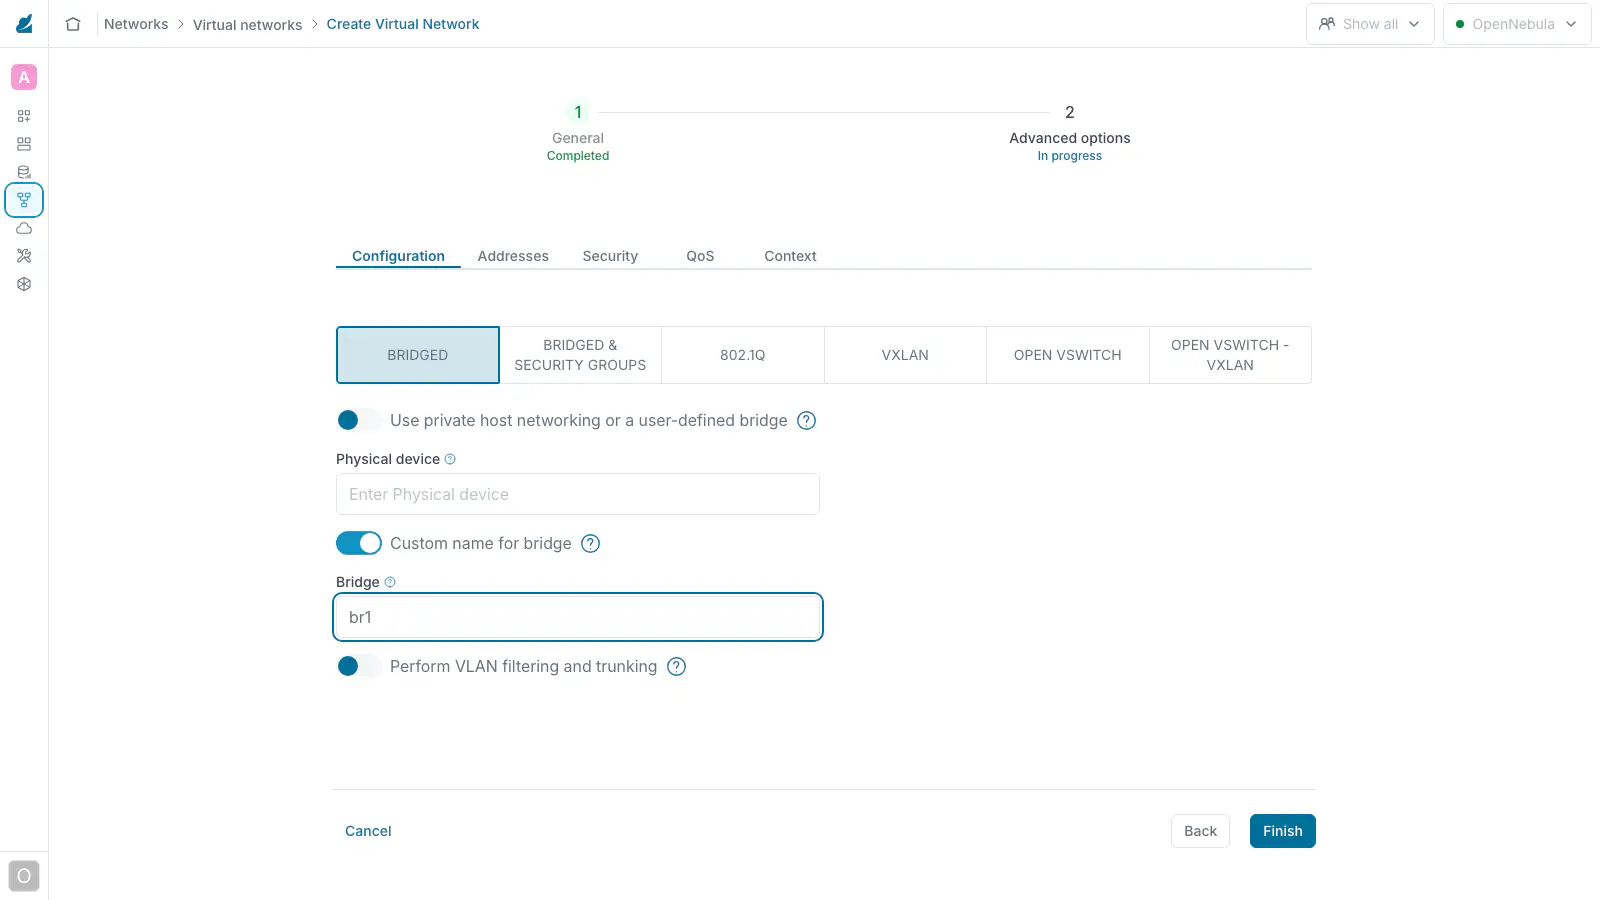
- Configuration. Any mode where the VMs of the Cluster reach each other works. On a single Host, select Bridged and Custom name for bridge. Enter a new bridge name, for instance
br1. Across several Hosts, use the mode and physical device of your other private networks, for instance VXLAN.
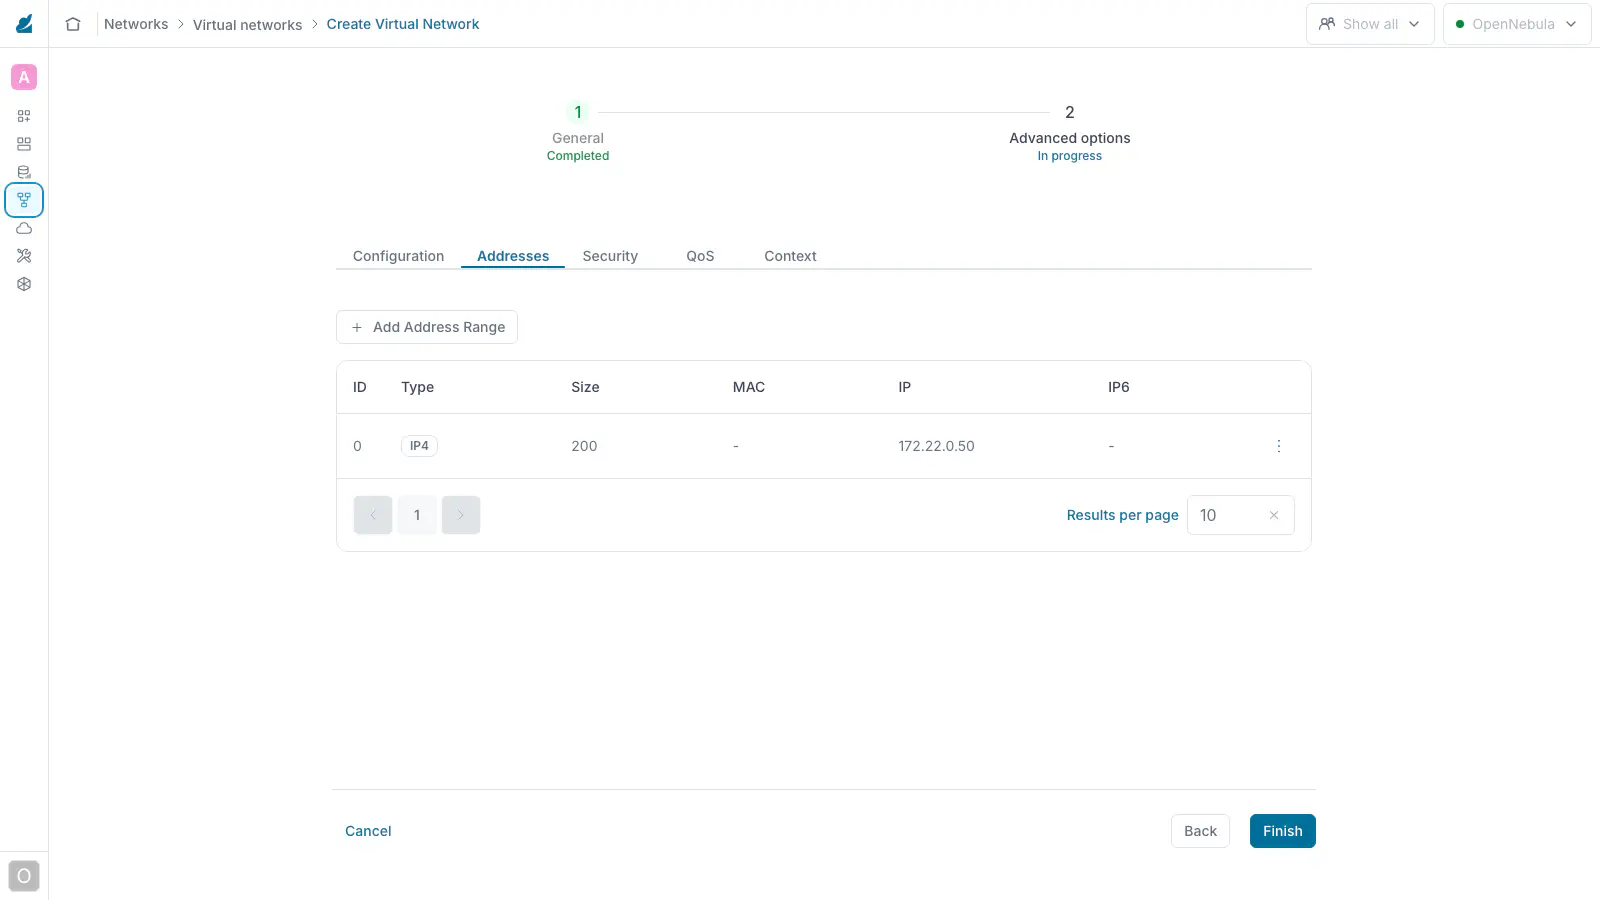
- Addresses. Click + Add Address Range. Set a first address and a size inside one /24, for instance
172.22.0.50and200. Click Accept.
- Context. Leave it empty. This network has no gateway, because its traffic never leaves the Hosts. Click Finish.
Download the Appliance
Register the Community Marketplace once if your installation does not have it. Then, from Storage -> Apps, download Open OnDemand Service into an image Datastore. The download imports three objects. They are the image that the three roles share, the VM template that boots that image, and the service template Open OnDemand Service. From the Front-end command line:
onemarketapp export 'Open OnDemand Service' 'Open OnDemand Service' --datastore default
The image is about 1.6 GB, so wait until oneimage list shows it in the rdy state.
Instantiate the Service
From Templates -> Service Templates, select Open OnDemand Service. Click the Instantiate icon, the first one in the toolbar of the detail pane.
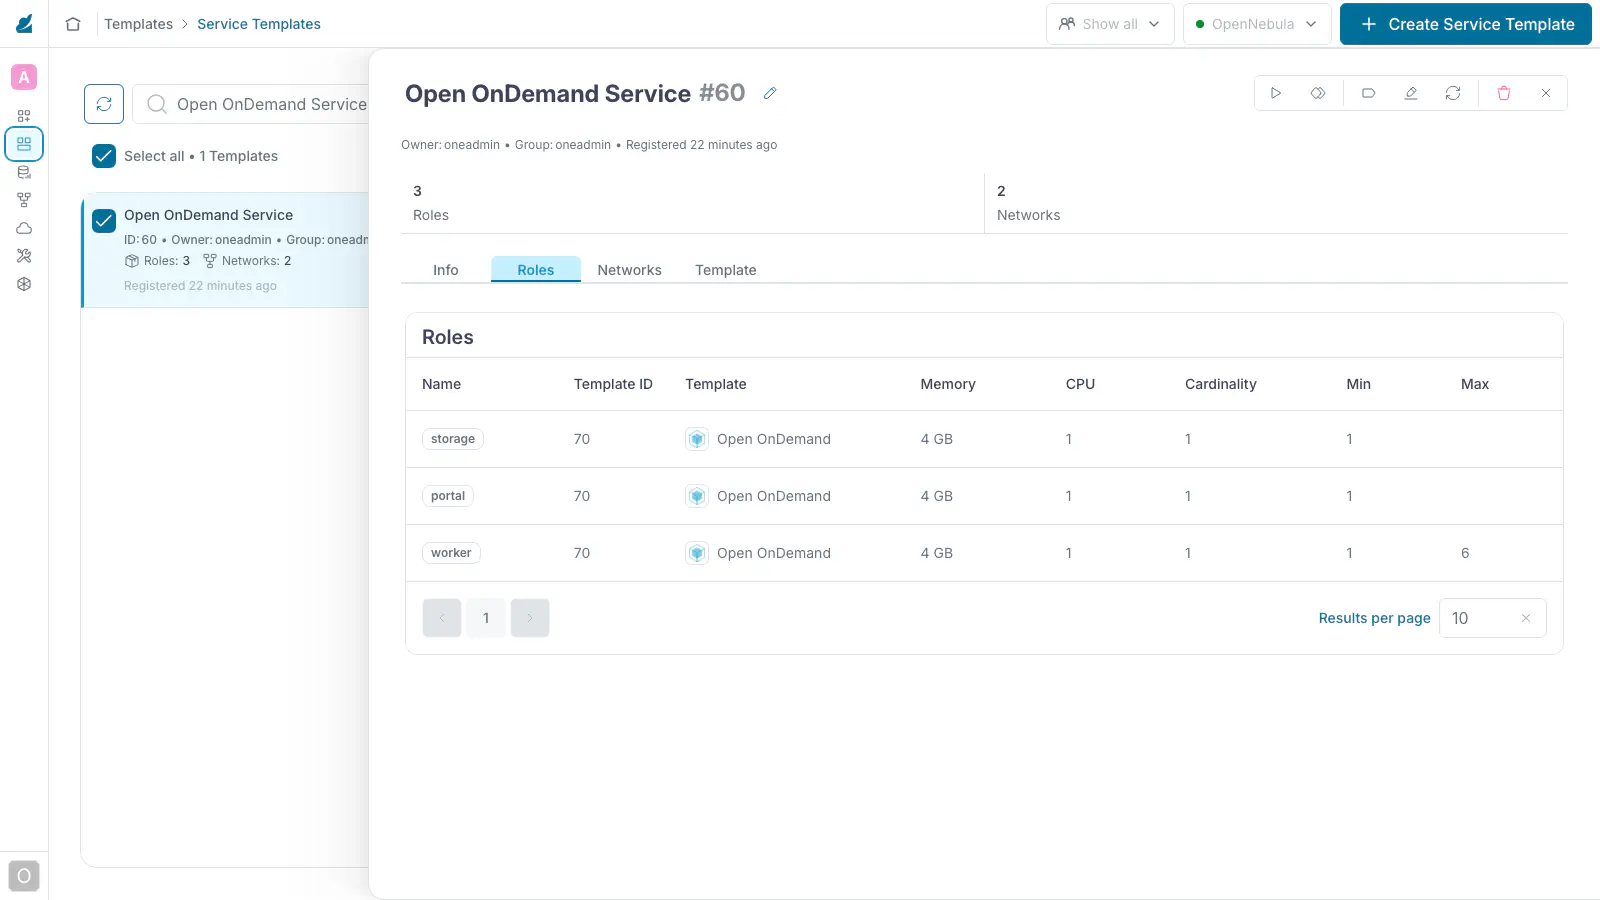
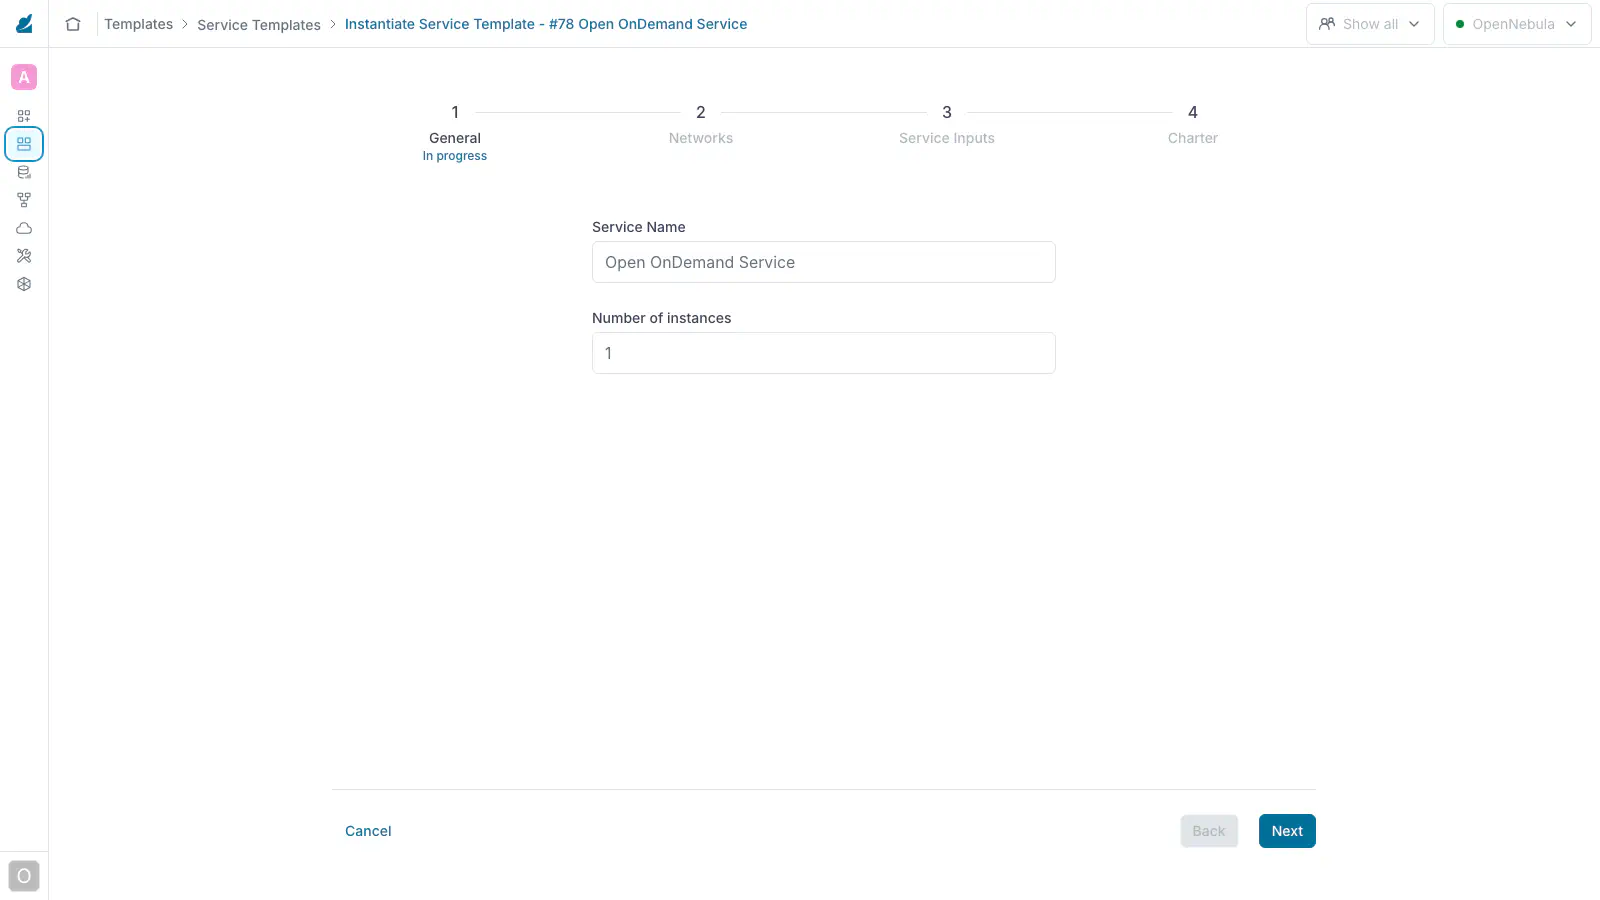
The wizard has four steps. In General, keep the name and one instance.
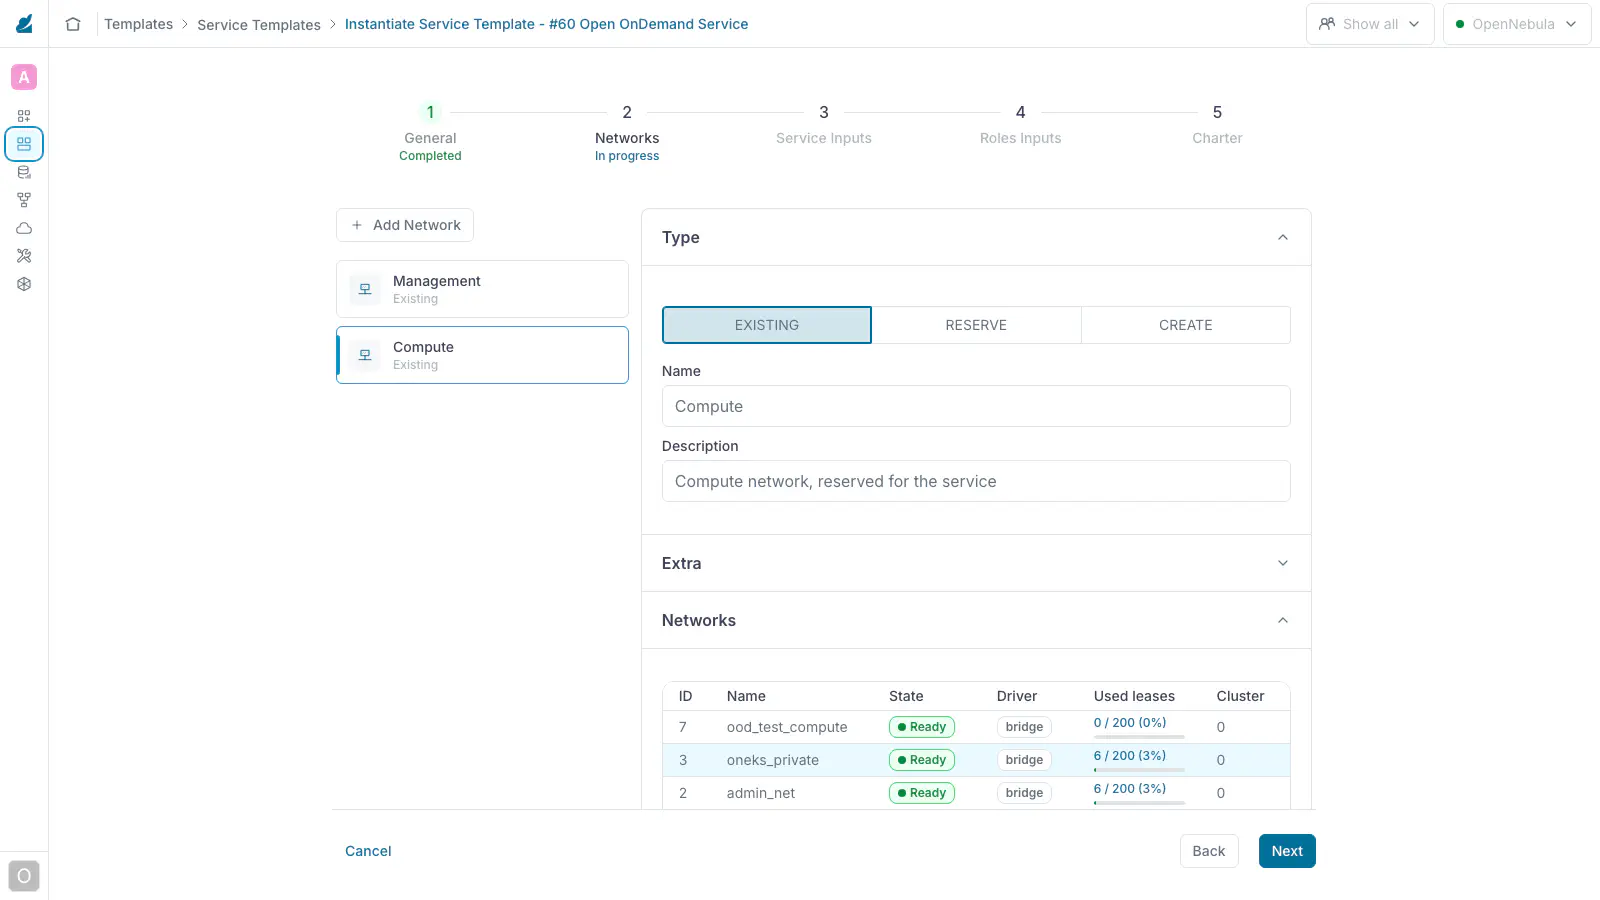
In Networks, click each entry on the left and select its Virtual Network in the table. Management is the network with Internet access, where the portal publishes its web interface. Compute is the network you created in Before You Start.
In Service Inputs, nothing needs to change for a first start. Every input is optional. The defaults give a portal with a self-signed certificate on its management address, and one local user, demo1 with password demo1pass. The home directories and the software cache stay on the storage role, and the Slurm cluster of the service needs no input. The inputs sit in four tabs, one per topic. Each section has a help icon with its explanation. Every optional feature is a switch that shows its fields only when it is on. The Portal tab looks like this.
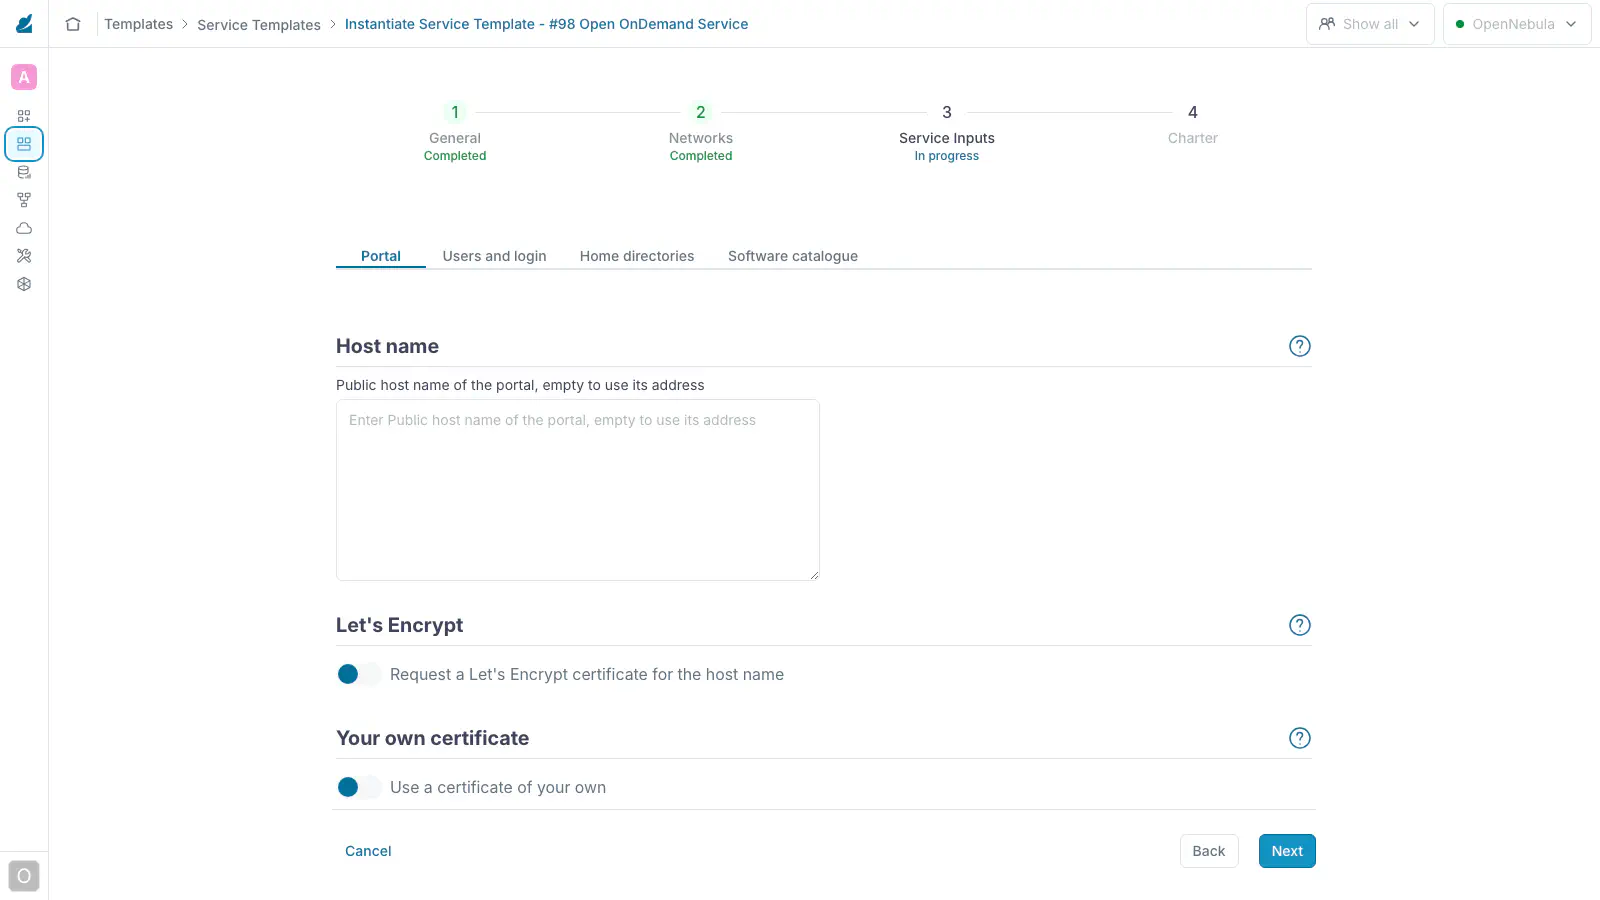
The Portal tab holds the public name and the TLS certificate of the web portal. For a first start, leave the name empty and both switches off:
| Option | What it does |
|---|---|
Host nameONEAPP_PORTAL_HOST_NAME |
The public name at which users open the portal. If empty, the portal answers on its management address. You can set a name on the running portal later, see Configuration. |
Let’s EncryptONEAPP_PORTAL_LETSENCRYPT_ENABLED |
Requests a certificate for the host name when the portal boots. The name must resolve to the portal, and ports 80 and 443 must be reachable from the Internet. When off, the portal starts with a self-signed certificate. |
Your own certificateONEAPP_PORTAL_CERTIFICATE_ENABLED |
Replaces the self-signed certificate with a PEM chain and a PEM key. You paste them in the two boxes the switch reveals. |
The Users and login tab decides who can sign in. For a first start, keep the default user and the switch off:
| Option | What it does |
|---|---|
Local usersONEAPP_AUTH_LOCAL_USERS |
The accounts the portal creates in its directory at first boot, as user:password separated by spaces. The default is demo1:demo1pass. A uid may follow, as user:password:uid, to match accounts that exist elsewhere. |
OpenID ConnectONEAPP_AUTH_OIDC_ENABLED |
Adds an institutional login next to the local one, for instance MyAccessID or Keycloak. The switch reveals the issuer URL, the client id, the client secret and the name shown on the login page. |
The Home directories tab decides where the files of the users live. For a first start, leave the switch off:
| Option | What it does |
|---|---|
NFS server of your ownONEAPP_HOME_NFS_ENABLED |
Mounts the home directories from an NFS server you already run, instead of the storage role. The storage role then only keeps the software cache. The switch reveals the address of the server and the export path. |
The Software catalogue tab decides where the EESSI files come from. For a first start, leave the switch off:
| Option | What it does |
|---|---|
CernVM-FS proxy of your ownONEAPP_SOFTWARE_PROXY_ENABLED |
Points the portal and the workers at a CernVM-FS proxy the site already runs, instead of the cache on the storage role. The switch reveals the URL of the proxy. |
In Charter, leave the list empty and click Finish. From the Front-end command line, oneflow-template instantiate 'Open OnDemand Service' requests the same values interactively.
Wait for the Service
The roles start in order, storage first and worker last. Each role declares itself ready through OneGate only when it is serving. From Instances -> Services, the service moves from DEPLOYING to RUNNING in about four minutes.
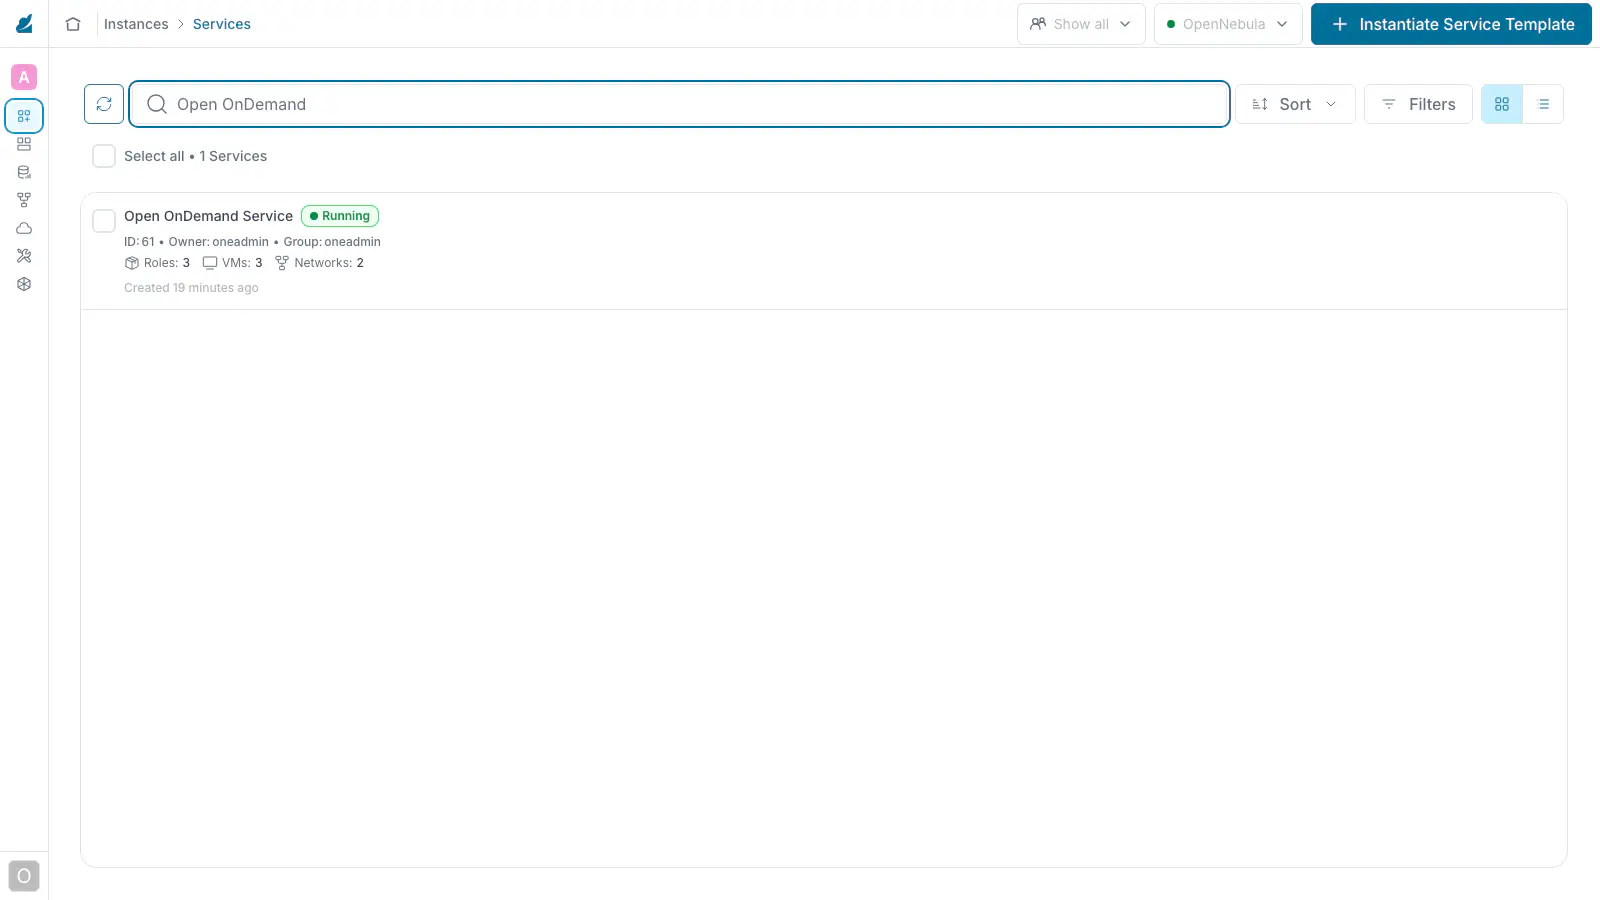
Open the service and select the Roles tab to see the three roles. Tick a role to list its VMs.
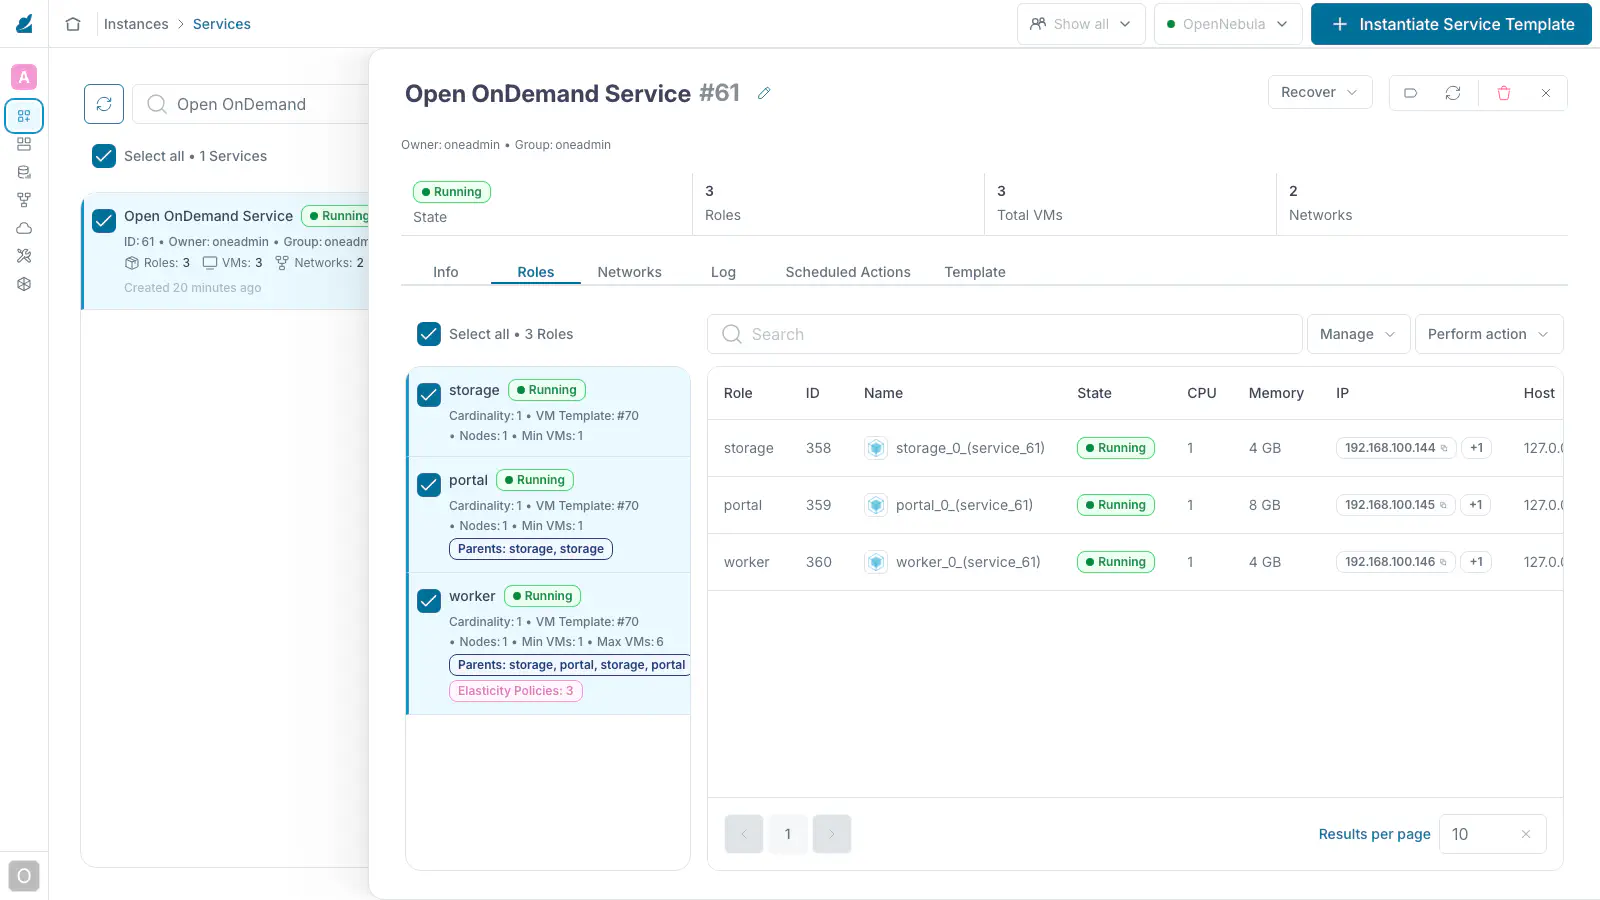
A role that stays in DEPLOYING has not declared itself ready, see Monitoring and Troubleshooting.
Open the Portal
The portal publishes its address as OOD_URL in the user template of the portal VM. In the Roles tab of the service, tick the portal role and click its VM in the table. Then read the value in the Template tab, under User Template, next to READY.
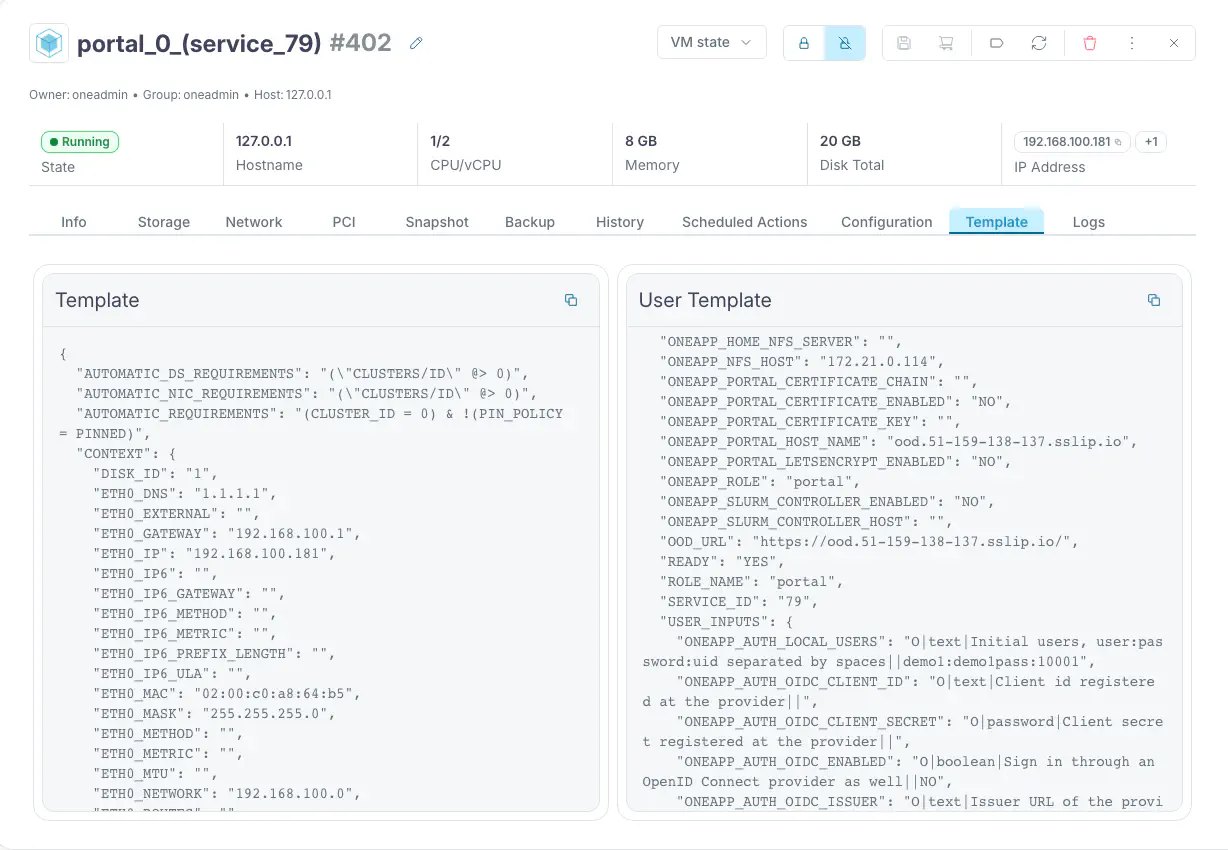
The same value is available from the Front-end command line:
onevm show <portal vm id> | grep OOD_URL
OOD_URL="https://192.168.100.165/"
The value is https:// followed by the management address of the portal VM, or by ONEAPP_PORTAL_HOST_NAME if you set a host name. With the default self-signed certificate, the browser asks you to accept it.
The address belongs to the management network. If your computer reaches that network, open the address as it is. If it does not, follow Reach the Portal from Outside below.
Reach the Portal from Outside
Three things give the portal a public name. They are a public address that forwards to the portal VM, a DNS name for that address, and that name as the portal host name. In the example, the Front-end of a single-host cloud owns the public address 51.159.138.137. The portal VM is at 192.168.100.184 on the management network.
-
A DNS name. Point a name of your domain at the public address, or use sslip.io. This public DNS service resolves any name with an address written in it, so
ood.51-159-138-137.sslip.ioresolves to51.159.138.137with nothing to register. -
Port forwarding to the portal. On a cloud provider, use a floating address or a port forwarding rule of the provider to the management address of the portal VM. On a Linux host that owns the public address, two NAT rules forward ports 443 and 80. Port 80 only matters for Let’s Encrypt. Save the rules so they survive a reboot:
iptables -t nat -A PREROUTING -i ens2 -p tcp --dport 443 -j DNAT --to-destination 192.168.100.184:443 iptables -t nat -A PREROUTING -i ens2 -p tcp --dport 80 -j DNAT --to-destination 192.168.100.184:80 iptables-save > /etc/iptables/rules.v4ens2is the interface that carries the public address. The VMs of the management network need a route back through that host. A network with the host as gateway already has that route. -
The name as host name of the portal. Set it at instantiation, in the Portal tab, or on a running portal. A running portal reconfigures itself in under a minute and issues a self-signed certificate for the name:
onevm updateconf <portal vm id> --append <<EOT
CONTEXT = [ ONEAPP_PORTAL_HOST_NAME = "ood.51-159-138-137.sslip.io" ]
EOT
OOD_URL on the portal VM changes to https://ood.51-159-138-137.sslip.io/. The Let’s Encrypt switch at instantiation gives a certificate the browser trusts. It needs the name to resolve and ports 80 and 443 reachable from the Internet. Your own certificate takes one you already have. A portal VM replaced by OneFlow gets a new management address, so the forwarding rule must follow it. Sign in with the initial user, demo1 with password demo1pass, unless you changed ONEAPP_AUTH_LOCAL_USERS.
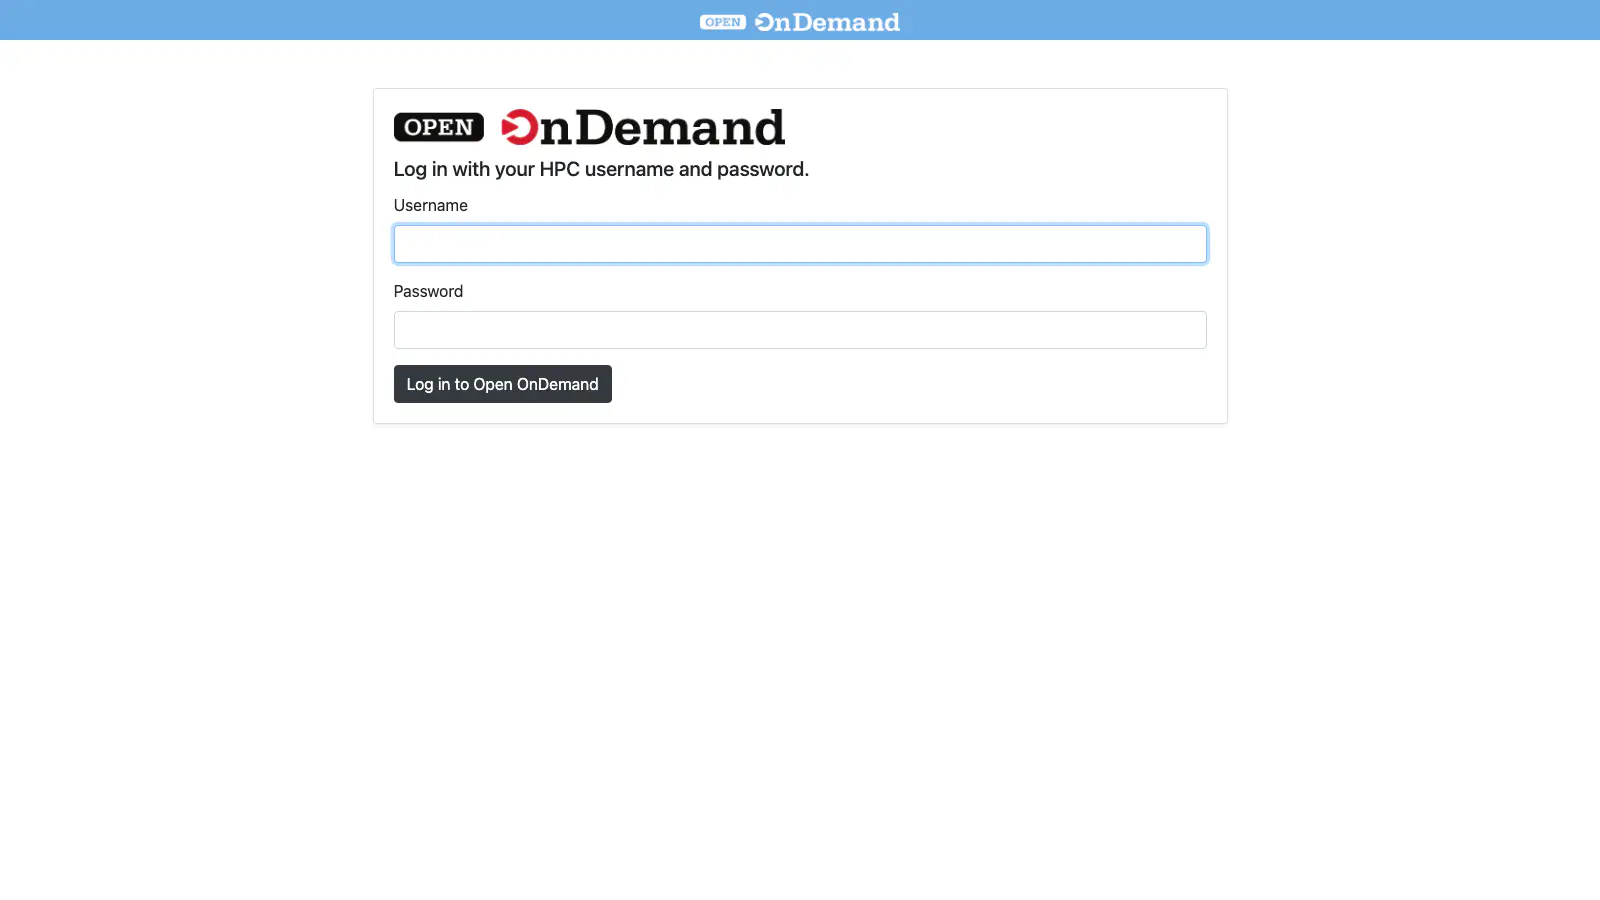
The home directory is created on first login. The Interactive Apps menu lists the six interactive applications, and the dashboard pins five of them.
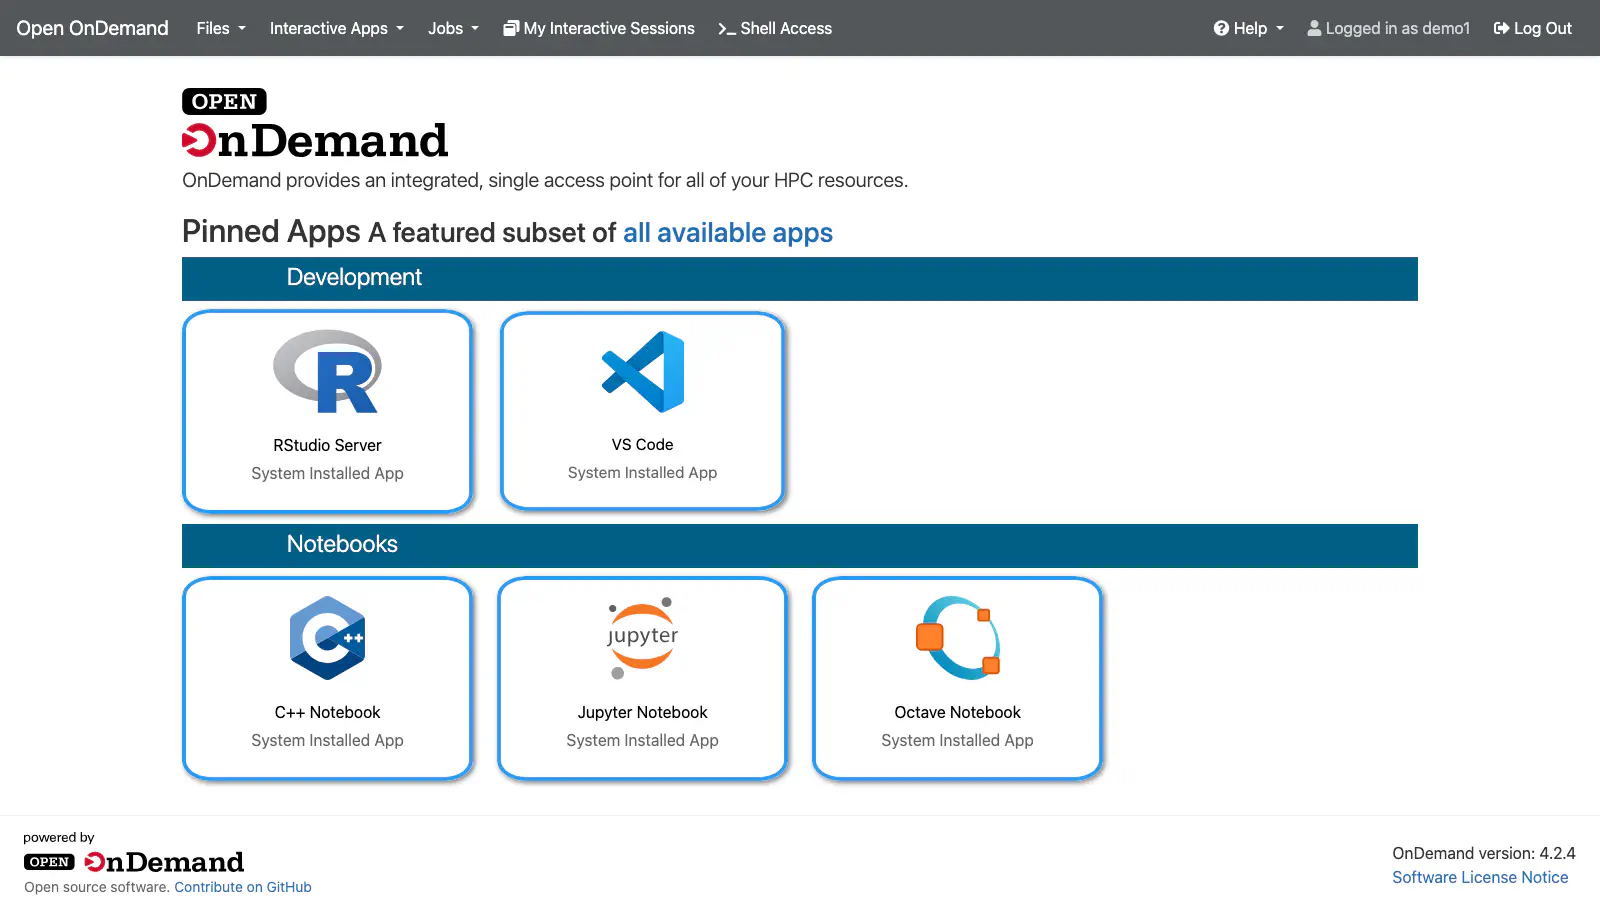
Launch a Notebook
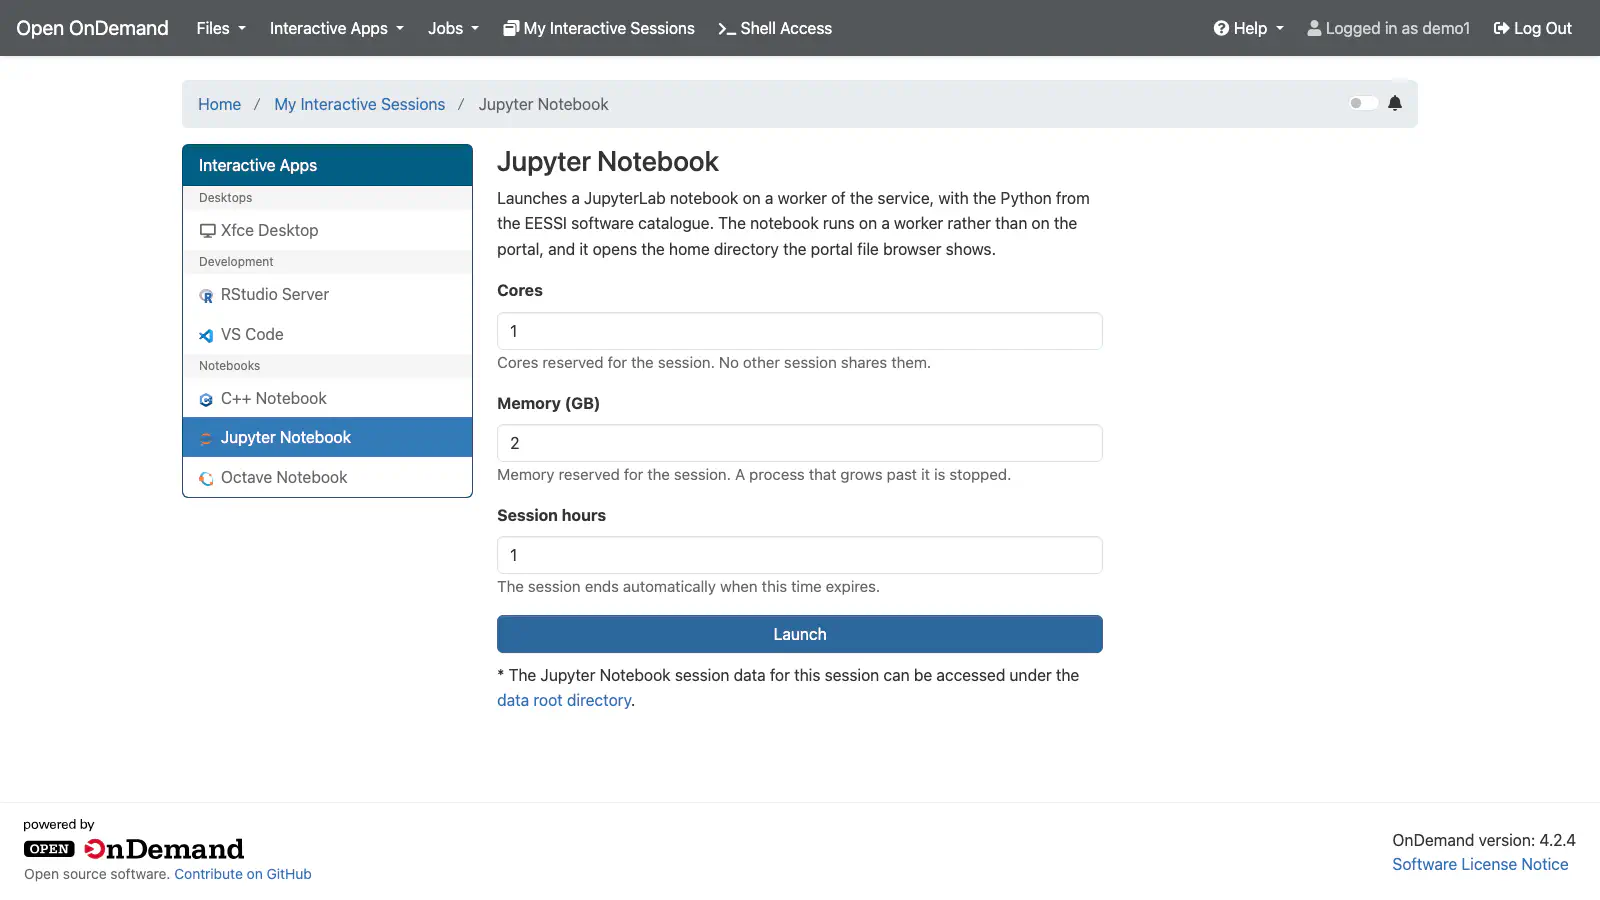
From Interactive Apps -> Jupyter Notebook, keep one core, 2 GB of memory and one hour, or raise them. The limits are what the largest worker has. Click Launch. A GPUs field appears only when a worker has a GPU. A Worker size field appears only when the service has several worker roles, see Worker Sizes.
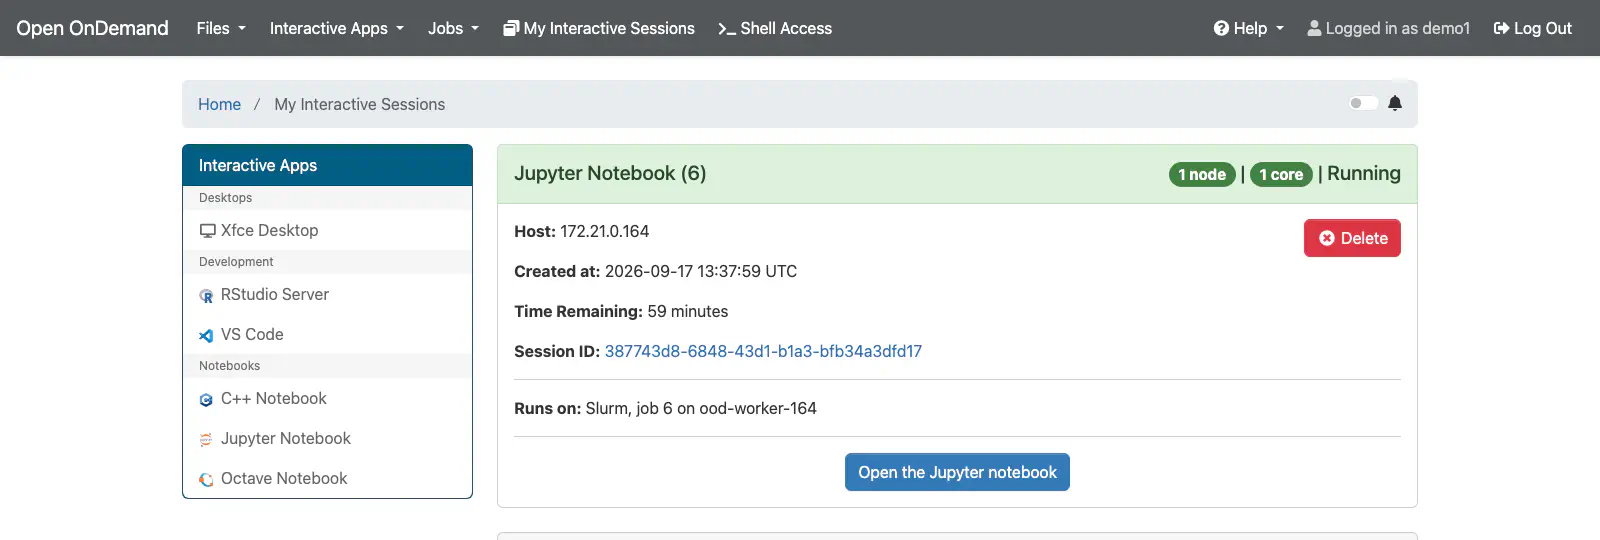
The session is a job of the Slurm cluster of the service. Its card under My Interactive Sessions shows the cluster, the job id and the worker it runs on. An example is Runs on: Slurm, job 1 on ood-worker-128. A session that finds no free cores shows Queued on its card. It waits until a session ends or OneFlow adds a worker, a couple of minutes with the Front-end setting the Requirements recommend. The first session on a fresh deployment takes longer to start, while the site cache fetches the Python module. When the card turns Running, click Open the Jupyter notebook.
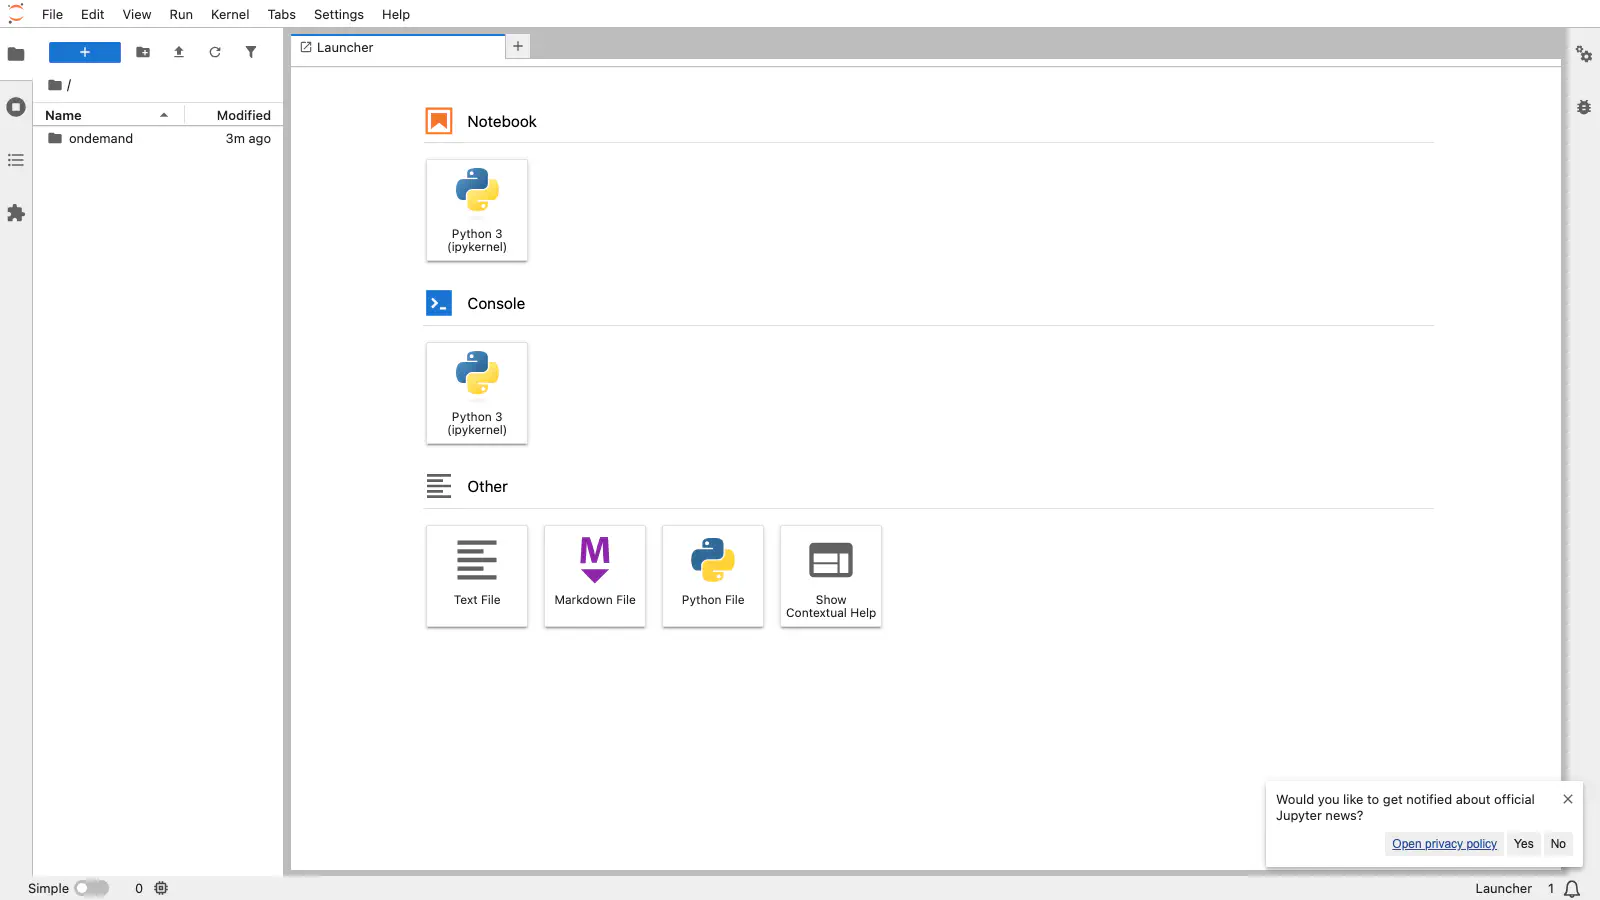
JupyterLab opens through the portal proxy, with the Python and Octave kernels from EESSI.
Files saved in the notebook go to the user’s home directory on the storage role. They appear in Files -> Home Directory and in every later session. Deleting the session from My Interactive Sessions cancels its job on the worker.
Next Steps
- Service Architecture describes what was deployed and how a session runs.
- Configuration covers the host name and certificate, users, worker sizes, Slurm and external identity providers.
- Operations covers keeping the home directories across deployments, upgrading and removing the service.
GIVE FEEDBACK
Was this resource helpful?
Glad to hear it
Sorry to hear that